Friday, November 8, 2013

Changing Pad Tutorial


I bought my daughter’s changing table at a second hand store at an awesome price. I did not come with the changing pad, so I put a standard contoured pad on my baby registry. I did not measure the table, as I figures any old pad would fit…. Wrong! I got my changing pad at my baby shower, and came home learning it was too long for my table. I brought it back to Babies R Us, but they did not have any that would fit my 29in x 19in table.  I headed online to try and find one that would fit. I could not find one anywhere, but found that I could order a custom pad for around $45. I decided to see if I could get materials to make one, and let buying the custom pad be my plan B. Luckily, I was able to make one myself, and used the store credit from the returned pad towards other baby items.

What you will need:

Outdoor cushion forms (whatever size you need). I bought two 15in x 17in forms so it is a tad narrow for my table, but it doesn’t matter.
Waterproof fabric of some kind (vinyl, PUL… I’m sure there are more. I used PUL because I have a lot)
Scrap of fabric
Scissors or rotary cutter
Sewing machine
Thread

 Instructions:

Cut your cushions (if you need to) to the right size of your table. Put your cushions next to each other, placing your fabric scrap on top of the seam. You are going to sew the fabric to each cushion to keep it together. If you would like to use a different method of connecting the cushions, by all means do it. I kept going over it in my head, when my mom recommended doing it this way. Since I did NOT take pictures, here is a diagram of what I am talking about.


Sew the fabric to each piece of foam, keeping them as close together as possible. Take your time because it is a pain to get it through your sewing machine. You could do fabric on both sides if you want, but I just did one side. Now, it is not the pretties. I contemplated adding a layer of batting before sewing on the cover, but am thankful my lovely mother reminded me that I would be wiping a butt on this thing and it does not matter :)

Now, measure your waterproof fabric to sew on a tight fitting cover, keeping in mind your seam allowance. This cover is going to stay on the cushion permanently. I made mine like a pillowcase, folding one long piece over itself (waterproof sides in) and sewing up the two long sides. Flip the fabric right side out (waterproof side out) and slide your cushion in. It should be snug but too tight. Fold the raw edges in to give the open end a finished look, and sew as closely to the cushion as you can to close it.

Now you have your pad! You can stop here if you would like, or make cute covers for it. Because you used waterproof fabric, you can just wipe it off if it gets messy during a diaper chance. 


Monday, July 8, 2013

How to Clean Your Microfiber Sofa

I have been trying to find a way to clean our microfiber sofa since we bought it used. It needed a little freshening up when we purchased it and has only gotten worse since. When I first found it, I thought microfiber would be great. It is advertised as being stain resistant and a good material to have with children. This is not true. Every little water drop makes a mark that is almost impossible to clean off. I started doing some searching and found countless blog articles on cleaning a microfiber couch with rubbing alcohol. I found this one first, and was really excited. I read the instructions and cleaned our sofa this way a few times. It took me a very long time, and it only mildly helped. In doing more research, I found many people saying they unzip the covers and throw them in the washing machine. This shocked me, as many people say to follow the cleaning code strictly. Unfortunately my sofa does not have removable covers. I had just made a new batch of my all purpose cleaner (click here for the recipe) and decided to give it a try. I figured I couldn't make it look any worse than it already did and gave it a shot. I was amazed!! 

*Please test the solution on an inconspicuous spot before spraying all over your sofa. Make sure it will not ruin your furniture! 


Before:


            After:


I cannot believe how great my sofa looks. My son immediately got some water from his sippy cup on the sofa, but at least I know how to get it clean!


Here are the steps to cleaning your couch:


Vacuum your sofa to remove loose dirt.
Get a white wash cloth soaking wet and wring it out.
Spray the cleaning solution lightly over sofa, and start rubbing with the wash cloth.
Rinse it out as needed, and continue to rub the sofa with the rag until it looks like the stains and water marks are gone. Allow to dry and be amazed!

**If you do not want to make the all purpose cleaner, use the method below! I tried this method recently just to see how it would work.


Cleaning with dish soap:


Get a bowl of about 4 cups warm water. Add just a couple drops of dish soap and gently stir. Dunk your rag into the bowl, wring out, and rub the sofa with the rag. It works very well and left no residue on my sofa. I did slowly add the soap, starting with just one drop, and increasing until I felt I had just enough. 

Tuesday, July 2, 2013

Homemade All Purpose Cleaner

I recently ran out of my Seventh Generation cleaner and decided to make my own to replace it. I have a gallon jug of Dr. Bronner's castile soap sitting around the decided to use that. Here is what I did:

Empty and rinse your old spray bottle
Fill it almost all the way with clean water
Add up to 1/4 cup Dr. Bronner's
Add about 10 drops of your favorite essential oil (Optional)
Add more water to fill your bottle
Put the top on and lightly mix solution


I used lemongrass oil and it smells heavenly. This solution works just as well as store bought cleaners, but costs much less and contains much safer ingredients. Happy Cleaning!

Friday, June 21, 2013

Cloth Wipes Tutorial


After more than a year of cloth diapering, I found myself about to run out of disposable wipes. I have been reading on a lot of cloth diaper sewing boards lately about moms using cloth wipes. I was hesitant to try them, but finally gave it a try. I have read about using anything from washcloths to cut up receiving blankets. Because I am having so much fun sewing, I decided I would buy some cute fabric and make my own! I bought some flannel as well as terry cloth. I wanted to make some with 2 layers of flannel, some with 1 layer of flannel, and a few with 1 layer of terry cloth and 1 layer of flannel. I made my wipes 8in x 8in because they fit nicely in a wipes container when folded in half. I didn't get all 8 inch squares because of the fabric cut, so some are smaller. The result? I LOVE cloth wipes! I wish I made the switch much sooner, as diaper changes are so much easier now! I don't have to worry about sorting wipes for the trash from my cloth diapers for the pail. My husband even approves :) 

Steps 

Wash and dry your fabric. It is best to wash in hot water since the wipes will be washed with your diapers.


Iron your fabric. Even though you are just making wipes, it will be much easier to get a good clean cut if your fabric is ironed straight.

Cut your fabric into 8 inch squares, and pin right sides together. 


Sew all sides, leaving an opening in the middle of one side about 3 inches open so you can turn it right side out. 


Trim around corners to keep them looking neater and turn right side out.


Press the seams and fold the edges of the open end in to give it a finished look.


Take the wipe back to your machine and do a top stitch close to the edge to close the hole, and keep the shape of your wipe.


You're all done!


There are many methods to using cloth wipes. Some people keep a spray or peri bottle near their changing table and wet the wipes as needed, while some keep them wet in a container or wipe warmer. There are also many recipes for the wipes solution. I started off using just water, then adding a little bit of baby soap or essential oils, but found that my favorite recipes is warm water and coconut oil. It soothes my son's skin and cleans really well. I also noticed that poop is easier to wipe off him when he has a light layer of the coconut oil. 


My Cloth Wipes Solution Recipe

2 cups warm water
1 tsp coconut oil

Dissolve the coconut oil in the water and pour on top of your wipes that are already sitting in the warmer. 


Monday, May 6, 2013

How to Get Rid of Razor Burn

Yesterday I made a big mistake. I dry shaved. I was in a hurry and did not have time to shower. I was wearing capri pants, so I decided to just shave the bottom part of my legs really quickly and run out the door. After a couple of hours, my legs were on fire. I tried lotions and lidocaine creams but nothing helped. I had little scabs and red bumps all over the bottom part of my legs. Then I had an idea.... coconut oil! I have been hearing so many great things about this stuff, and previously treated my husband's sunburn with it. Before bed, I got in the shower and shaved my legs.... properly. I even shaved over the razor burn to open everything up. It hurt, but it wasn't too bad. I was already uncomfortable. When I got out, I slathered my legs in coconut oil. I let it sink in as much as possible before putting on my pajamas and heading to bed. The relief was almost instant. My legs did not feel like they were being attacked by ants anymore! In the morning, my legs were smooth and soft again. The razor burn was completely gone! I only wish I had taken before and after pics to show the difference. From now on, I am going to use coconut oil every time I shave!

Friday, March 22, 2013


 Want to get in on some FREE samples? There are many websites that promise free samples, but most send lots of annoying spammy emails. All You does not. I get emails occasionally for coupons and deals, but nothing I can't deal with. All You has a Daily Free Sample Calendar, where you can log links to free samples each day. You can also sign up for their email list, and you will receive an email each day with a link and instructions to redeem your free sample. They do the work of finding the samples, and you reap the benefits! Enjoy!

Wednesday, March 13, 2013

Online Surveys

Reviews of online survey websites based on my experience...


e-Rewards: It seems simple enough, take surveys and earn money! Well, the reality is that you need to earn at least $70 in order to receive $25 in gift cards. Some surveys pay out $15+, but I have found that it is very hard to qualify for these types of surveys. In fact, I have never qualified. Other rewards include magazine subscriptions and coupons. In my opinion, it is not worth the time to complete surveys to eventually earn a measly reward.

OneOpinion: Here is another case of "I never qualify for any surveys". I signed up with them a month ago, and only have the $5 in my account that I received for signing up. You need to have $20 in order to cash out, so I don't see that goal anywhere in the near future. 

Pinecone Research: This is my favorite survey website. The catch? You have to be invited. I have no idea how I got an invite a few years ago, but I did. I got paid $2 for each survey I completed, and it was mailed to me soon after I completed it. They always paid, and it was great! I also participated in studies to test products. They mailed me free products to evaluate and I got paid! I only got a few a month, so I didn't make any real money here, but every little bit helps. Unfortunately, I got busy and passed on some surveys and was subsequently removed from their list.  They like people to be active in their survey taking. I hear now that they are paying $3 per survey, so if you can get an invite take it! 

Tellwut: This is a point based survey site. For each survey/quiz you take, you receive points (the ones I have taken are 5-10 points each). For every 4,000 points you accrue, you can redeem a $10 Amazon gift card, or a $25 Walmart gift card for 10,000 points. That sounds like a lot, but it is easier than it sounds. It literally takes about 10 seconds to complete a survey. Unlike other sites, there is nothing to qualify for, which is great!

Tuesday, March 5, 2013

How to Have Biggest Loser Results


How do the contestants on The Biggest Loser do it? First of all, they are cut off from society. No phones, internet, or cable TV. They do not have to go to work, take care of the kids, or run errands. All they have to do is lose weight.


Food

The women are on a 1,200 calorie per day diet, and an 1,800 calorie per day diet for the men. There is no butter, white flour, or white sugar in the kitchen. They eat 3 meals and 2 snacks per day, and do not go more than 4 hours without eating. They are allowed one cheat day, where they women can max out at 2,000 calories and the men at 3,000. This is still a huge difference as many of them eat a couple thousand calories at one sitting before going on the show.


Exercise

All contestants work out at least 4 hours per day. 4 hours! They do a combination of cardio and weight training, and have different classes during the day, such as kickboxing. Many contestants are in the gym without the trainers, putting in extra time. Stretching is also an important component of their exercise regimen, and helps to prevent injuries. You may also notice them icing their joints and muscles after a tough workout.  


Education

The contestants on the show learn about nutrition and how to handle their emotions. Many people use food as a way to deal with emotions, so they will not keep the weight off without resolving deep emotional problems and learning how to deal with difficulties.  


How can you do it at home?

It is not realistic for most of us to exercise 4+ hours per day. That being said, we can all find an hour. Instead of watching TV, going online, or sitting on the sofa, get up and get out! 30 minutes in the morning and 30 minutes in the evening is a good way to sneak in an hour of exercise every day. If you have not had an exercise routine recently, start with walking or (if you are able) jogging. Add some weight training. If you do not have access to weights, use your body weight. Do pushups, sit-ups, and squats. Just make sure you always stretch after a workout.

Eat better. Cut out the bad food and replace it with healthful choices. Swap out a beef burrito for a black bean taco, white pasta for wheat or veggie pasta, or sugary cereal with oatmeal. Eat a salad before lunch and dinner. The veggies are great for you and will help fill you up before diving in to your higher calorie entrée. Although I am a big fan of Weight Watchers, you don’t have to count points or calories to lose weight. Some people (like me) thrive on control and work best this way. Others can simply just make better choices and be happy with the results. 

Don't forget the water! Aim to drink half your weight in ounces per day, and increase your water intake when you exercise. 


Monday, March 4, 2013

How to Remove Plaque Buildup

How to Remove Plaque Buildup from Teeth

Have a little time before your next dental cleaning, but want to give your teeth a clean boost? Try this method to get the fuzzy off your teeth! This method also helps to whiten your teeth. Be sure not to do this regularly, as baking soda can break down the enamel on your teeth.

1. Pre-rinse with a hydrogen peroxide and water mixture for 30 seconds.
2. Put some baking soda on your dry toothbrush, and brush your teeth like normal. For a guideline click here.
3. Thoroughly rinse your mouth.
4. Rinse with the peroxide mixture one more time.
5. Rinse with water again, or your favorite mouthwash to remove the peroxide taste.

Make sure to have your teeth cleaned by a dental hygienist every 6 months for optimal oral health.

Peanut Butter & Chocolate Brownies

Yummy Peanut Butter & Chocolate Brownies

These are delicious, and have just enough peanut butter to add flavor, without overpowering the chocolate. 

Ingredients:

4 (1 oz) squares unsweetened chocolate
3/4 cup butter
3 eggs
2 cups sugar
1/4 cup peanut butter
1/4 cup milk 1 cup flour


Steps:

1. Preheat oven to 350 degrees.2. Microwave the chocolate squares and butter about 2 minutes until melted.
3. Add eggs, sugar, and peanut butter. Mix well.
4. Stir in milk and flour.
5. Pour into a greased 13x9 baking dish or brownie pan.
6. Bake for 35 minutes. Do not overcook! Brownies should be a little moist when you remove them from the oven.

Homemade Hummus

Hummus made from scratch! This is so much cheaper than store bought.

It is very easy to make your own hummus. After trying many recipes, I found out my hummus tastes best when I follow my taste buds!

Ingredients:

Dry garbanzo beans
Garlic
Lemon juice
Tahini
Salt

I don't include amounts of each, because everyone likes their hummus made differently. 

Steps:

1. Cook your dry beans according to package directions.
2. Put cooked beans in your blender or food processor with a splash of lemon juice, a clove or two of garlic, a couple tablespoons of tahini, and a pinch of salt. Blend the ingredients until smooth, adding some water when and if necessary.
3. Give it a taste! Add more garlic, lemon juice, salt, and tahini as needed. 


Which Type of Cloth Diaper is Best for Me?

Most people have a preference when it comes to cloth diapers. Here is a basic overview of the different types.

All in ones (AIO)- As the name implies, these diapers are a cover and insert all in one. Sometimes the insert is sewn in, and sometimes it snaps in. While these are very easy for some people, others do not like the longer drying times. These diapers also tend to be more expensive than others.

All in twos (AI2)- This system is a cover and insert. The insert lays in the cover against the baby's skin. They are usually attached with Velcro, snaps, or flaps build into the diaper. These are great because you only have to replace the insert during the day, unless the cover gets dirty. Babies with sensitive skin may not be able to wear AI2s, as the wet insert stays against their skin.

Fitteds with covers- A fitted diaper is not waterproof, but is very absorbent. Some are made with a pocket that you can stuff for extra absorption. They need a waterproof cover for the outside to prevent leaks. Like the AI2s, these may not be best for babies with sensitive skin. They are also bulkier than other methods.

Pockets- These diapers have a waterproof outer layer, and a build in stay dry pocket that you stuff with absorbent inserts. The materials used for the pocket wick moisture away from the baby into the insert, keeping your baby's skin dry. This is great for babies with sensitive skin, although some moms dislike stuffing the pockets.

I would recommend trying a couple of each system you think would fit your needs. I have tried all of the above, and currently only use pockets and one brand on AIO.

Monday, February 25, 2013

Bye Bye Cable Bill!

imageIn an effort to cut expenses, my husband and I decided to get rid of cable. We were inspired by a few of our friends who have also cut their cable plans. Our bill for cable alone was $60 per month, and was set to increase to $90 when our promotional period was up. The first thing I did was make a list of the shows on our DVR list. I realized quickly we could watch almost all of our favorite current shows either online for free, or with Hulu Plus. The only show we are unable to watch is The Walking Dead. Luckily, my mom lives close by and will be saving the episodes in her DVR for us to watch.
 Next, we signed up for a free week with Hulu Plus to make sure we liked it. So far, so good! I called our cable company today and cancelled our subscription. We lost our discount on our internet since we bundled, but our bill was lowered $45 per month after everything was all said and done. We had to pay a $135 cancellation fee since our contract was not up for another 9 months, but we still saved ourselves $270 in that time! Hulu Plus is only $7.99 per month and I can cancel at any time. 
Don't want to get rid of cable but hate paying the bill? Call your provider and tell them you can't afford the service anymore. Before the representative cancelled my subscription, she offered me a discount on my already discounted plan.  
My total savings? $37/month, and $67/month beginning in November.

Friday, February 22, 2013

What's The Best Diet?

Frankly speaking, the best diet is not a diet. It is a lifestyle change. Usually we gain weight because we are eating too much junk and not getting enough exercise. Ugh, the E word. We'll address that later.

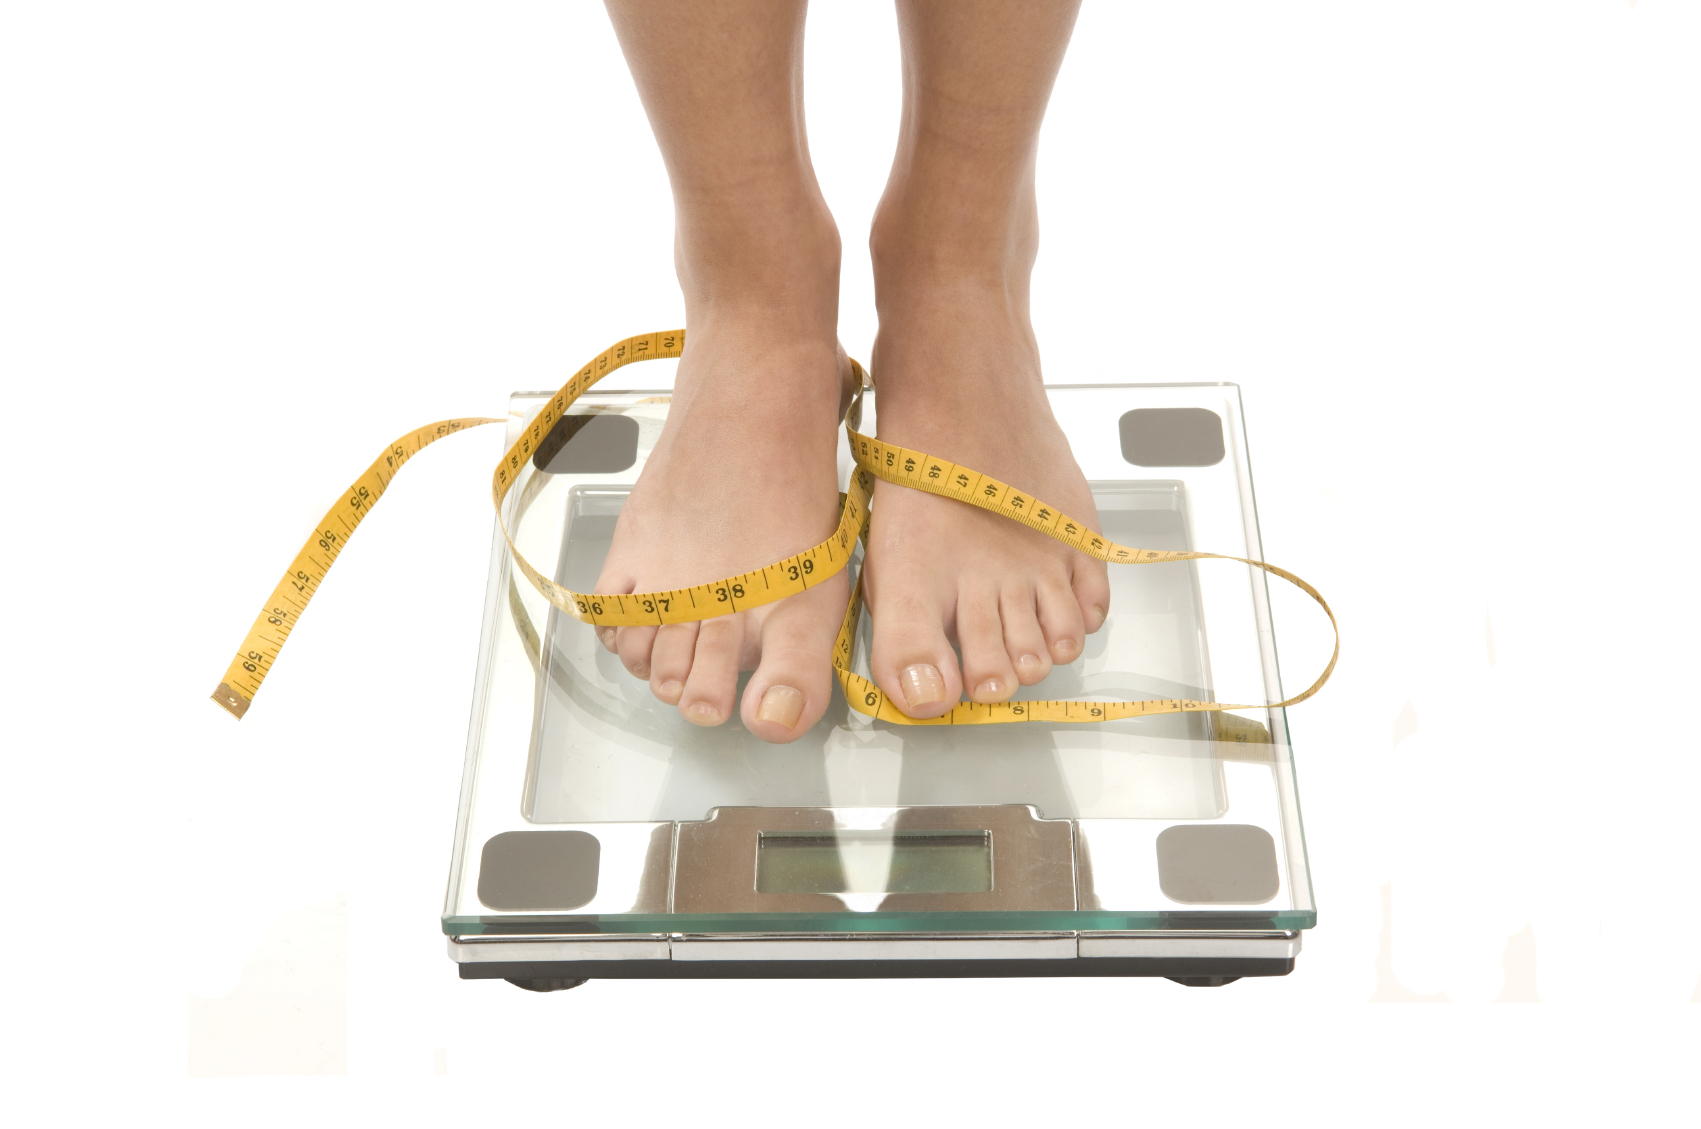
http://myoperationmuffintop.files.wordpress.com/2012/01/weightloss_-_feet_on_scale.jpg
When I was a young(er) adult, I could eat what I wanted with little to no repercussion. I didn't have to exercise (although I was active), count calories, watch portions, etc. Then I made a career change and took an office job. I went from being on my feet 40 hours per week to sitting at a desk most of the time. I gained about 5 pounds in the first few months and plateaued out. I didn’t try to lose weight as I still felt happy with my size. All that changed when I got married. 

Having a husband around who loved food led to eating more, eating out, and eating more often. I gained about 20-25 pounds in less than a year. Yikes! I had already made the switch to a vegetarian lifestyle, but was filling the void left by the absence of meat with carbohydrates. Not the good ones, either… Pasta, pizza, breads…. I decided I needed to lose weight and, like most, wanted to do it immediately. I tried only eating carbs in the morning, and filling the rest of the day with veggies. Fail. Lemonade diet? Fail. Atkins? Being a vegetarian already set me up for failure for this one. Counting calories? Fail. I tried almost everything short of prepackaged food programs.

One day I saw a Weight Watchers commercial and decided to give it a try. I signed up online because I could not picture myself going to meetings. If you are unfamiliar with this program, it is pretty simple. You can eat whatever you want. Each food is assigned a point value based on its protein, carbohydrate, fat, and fiber content. Each day you can eat X amount of points, with bonus weekly points to use on days you go over your allotment. The first few days were hard. I had to enter all my foods into my online tracker. Once I had my favorites programmed, it was very easy. The site keeps track of your daily and weekly points, as well as rewarding you with activity points for exercising. I lost 6 pounds the first week, and continued to lose weight at a healthy rate over the next few weeks. Soon, I got really good at knowing a food’s point value before even having to track it. I cancelled my online membership and now carry a small notepad so I can track my daily points.

I cannot stress enough how much I LOVE this program! It is designed to teach you HOW to eat. You quickly realize you can have pancakes for breakfast and pizza for lunch, but dinner is going to be lacking (fruits and most vegetables are 0 points and considered “free foods” so you’ll never starve yourself). I learned that my problem is portion control, and Weight Watchers really helped me learn how to properly portion my meals. I would strongly recommend this plan to anyone having trouble losing weight.


Thursday, February 21, 2013

How Do I Wash Cloth Diapers?

If you have made it this far, you are thinking about or have made the decision to cloth diaper. Washing routines are pretty standard in the cloth diapering community.


For regular washing (every 2-3 days):

  • Rinse in cold water first. This will help to remove stains.
  • Wash in hot water with the normal of detergent you would use in any load.
  • Rinse at least twice. You want to make sure you do not have soap left on your diapers.

If you have no problems with your diapers, continue with this routine. You may find that you need to adjust your detergent brand or amount, or number of rinses. If you need to rinse more than you would like, try cutting down your detergent amount. Just be aware that if you use too little, your diapers will not get clean.


For stripping diapers:

This is not so cut and dry as not many people agree on one way to strip their diapers. I found that I had to strip my diapers a lot when I was using All Free & Clear, as well as Rockin' Green detergent. Since switching to Tide, I have not had to strip them.


RLR Method (Sodium Carbonate/Washing Soda):

RLR is highly concentrated washing soda. Keep in mind if you use regular washing soda, you will have to use about a cup to equal the potency of one packet of RLR. 
  • Rinse your diapers in cold water.
  • Fill you washer with the hottest water possible and empty one packet of RLR into your machine.
  • Let you machine run a bit to mix the RLR with the diapers and water.
  • Turn off or pause your machine for a few hours. It is best to let them sit overnight.
  • Turn your washer back on and let it resume the cycle.
  • Rise, rinse, rinse! If you are able to, rinse on hot. I can't, so I usually do another hot wash cycle.

Dawn Method:

I do not recommend using this method if you have a front loader.
  • Rinse your diapers in cold water.
  • Add a small squirt of Dawn to the hot wash cycle. Do not add any other detergent.
  • Rinse, rinse, rinse, rinse! It may take a few rinses to remove all of the dawn   
After stripping, make sure to dry your diapers in the sun. This should remove any stink and build-up issues. 


Detergents - Update

I have recently come to the conclusion that cloth diaper companies are trying to scam us into  buying their expensive cloth diaper detergents. Diapers can handle regular laundry detergent with no problem. After a year of trying hypoallergenic detergents and cloth diaper specific detergents, my diapers always stink! I have to strip them monthly, and I am convinced they are just not getting clean enough. I will be using the rest of my Rockin Green (since I still have more than one bag full), and then will be switching to Tide Original. I will update when that time comes!


Softeners

Never, ever, ever use fabric softeners or dryer sheets on your cloth diapers. This will cause them to repel liquid and lead to leaks.